Adding a repository
Onboarding is one screen that adapts as you go, not a five-step wizard. Canopy checks the folder is a git repo, reads its manifests, proposes what to run and what to set up, and shows you where each proposal came from. You can edit all of it here, and again later in Settings.
Step 0. Open the add-repository screen#
Four ways in, all landing on the same screen:
| Route | When to use it |
|---|---|
| The first-run empty state | Automatic when no repositories are registered. |
⇧⌘N | From anywhere, any time. |
| Sidebar → the repository filter → Add repository… | Appears once you have two or more repos. |
⌘K → Add repository | When you're already in the palette. |
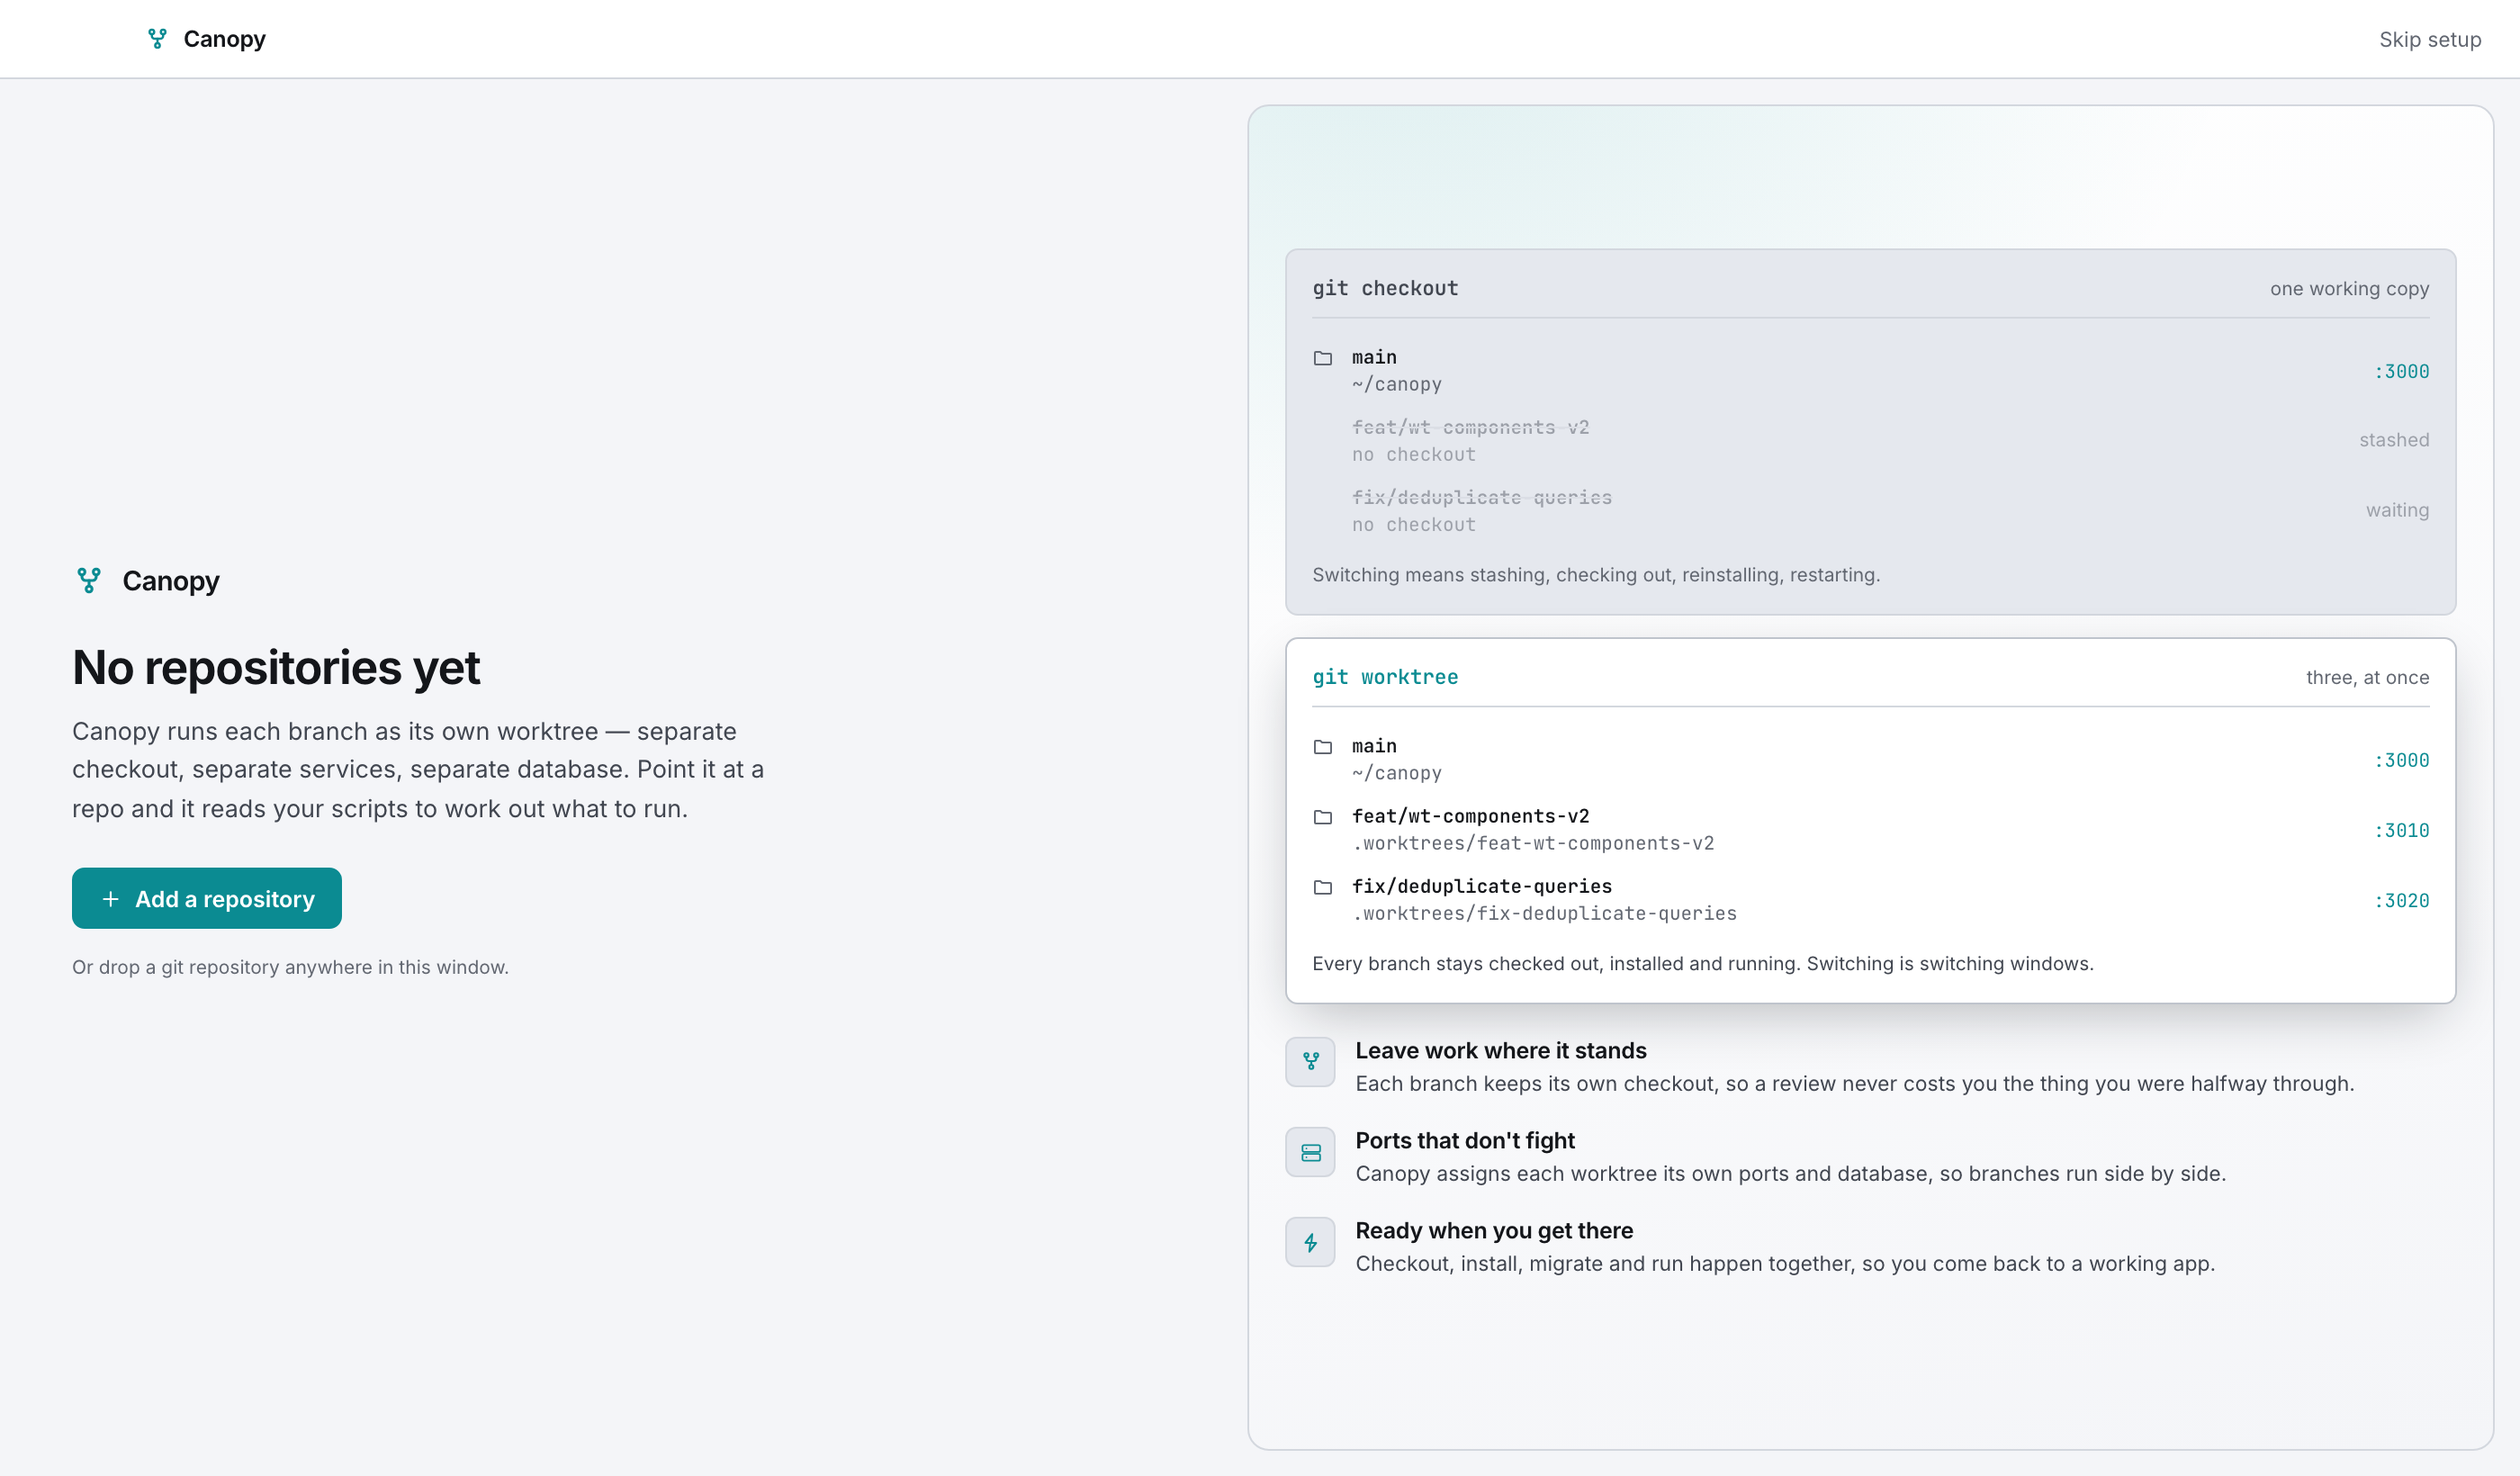
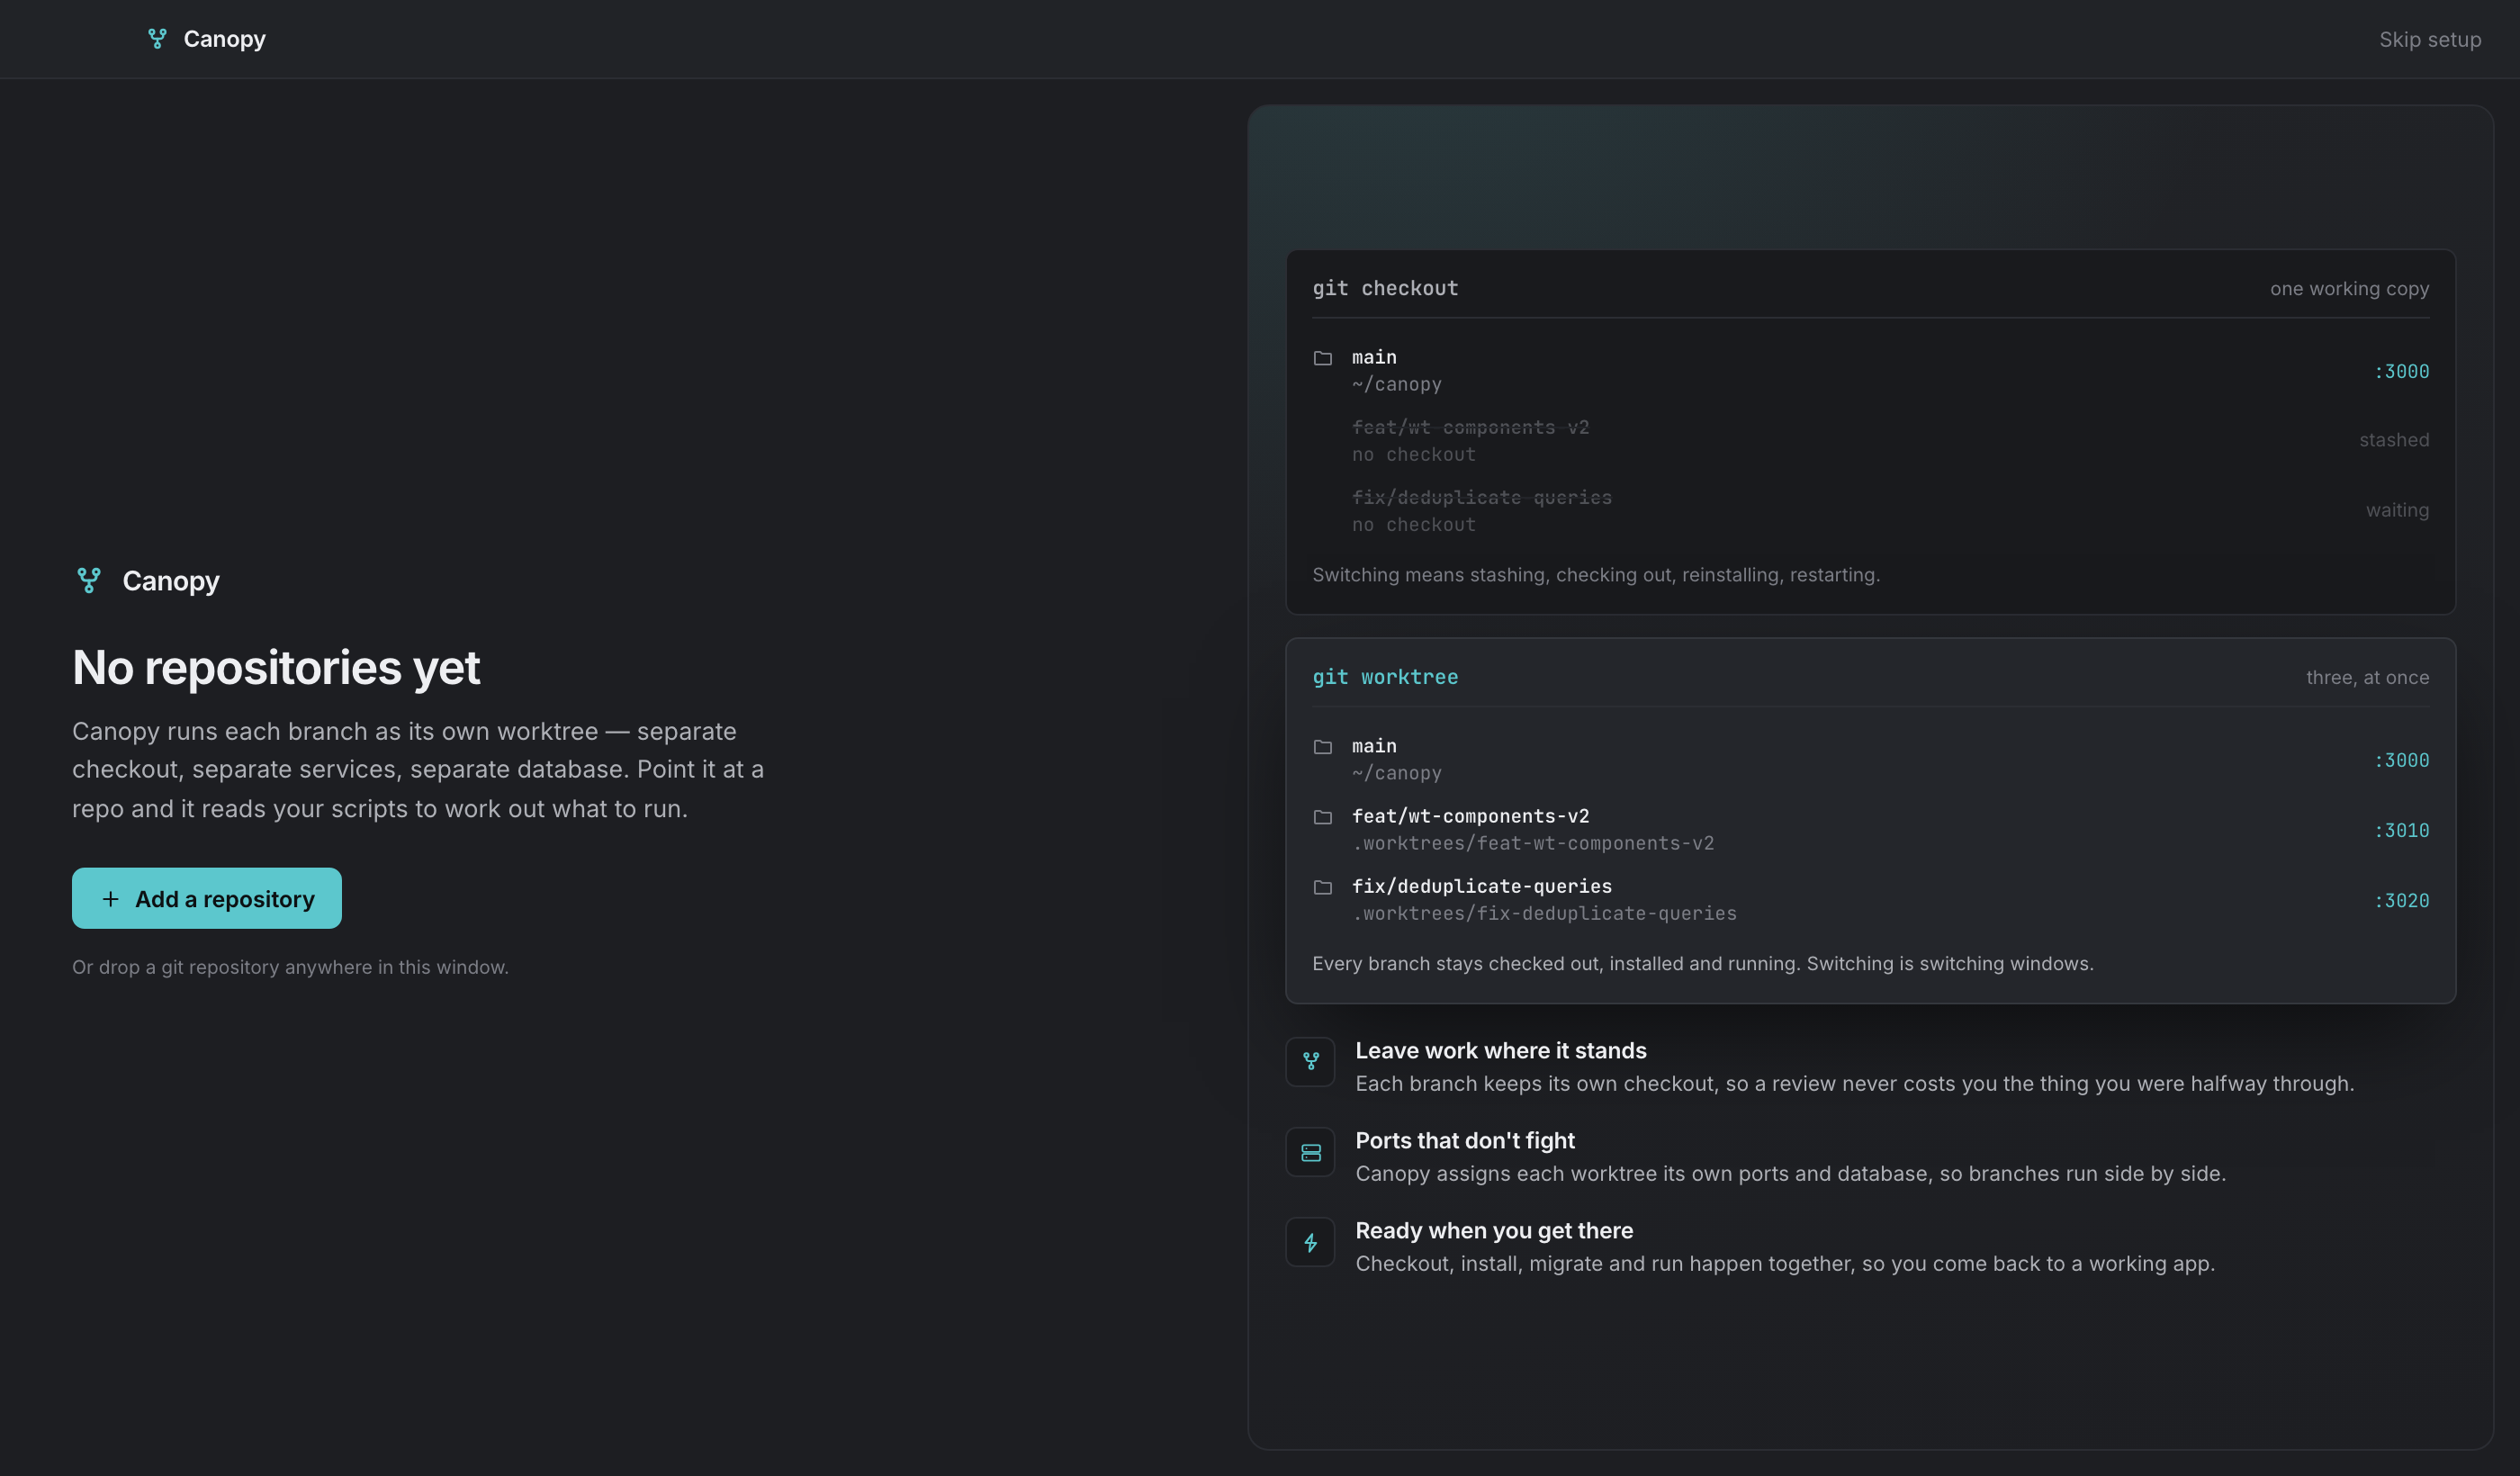
The first-run screen makes the case for worktrees before it asks you for anything:
Step 1. Point Canopy at the repository#
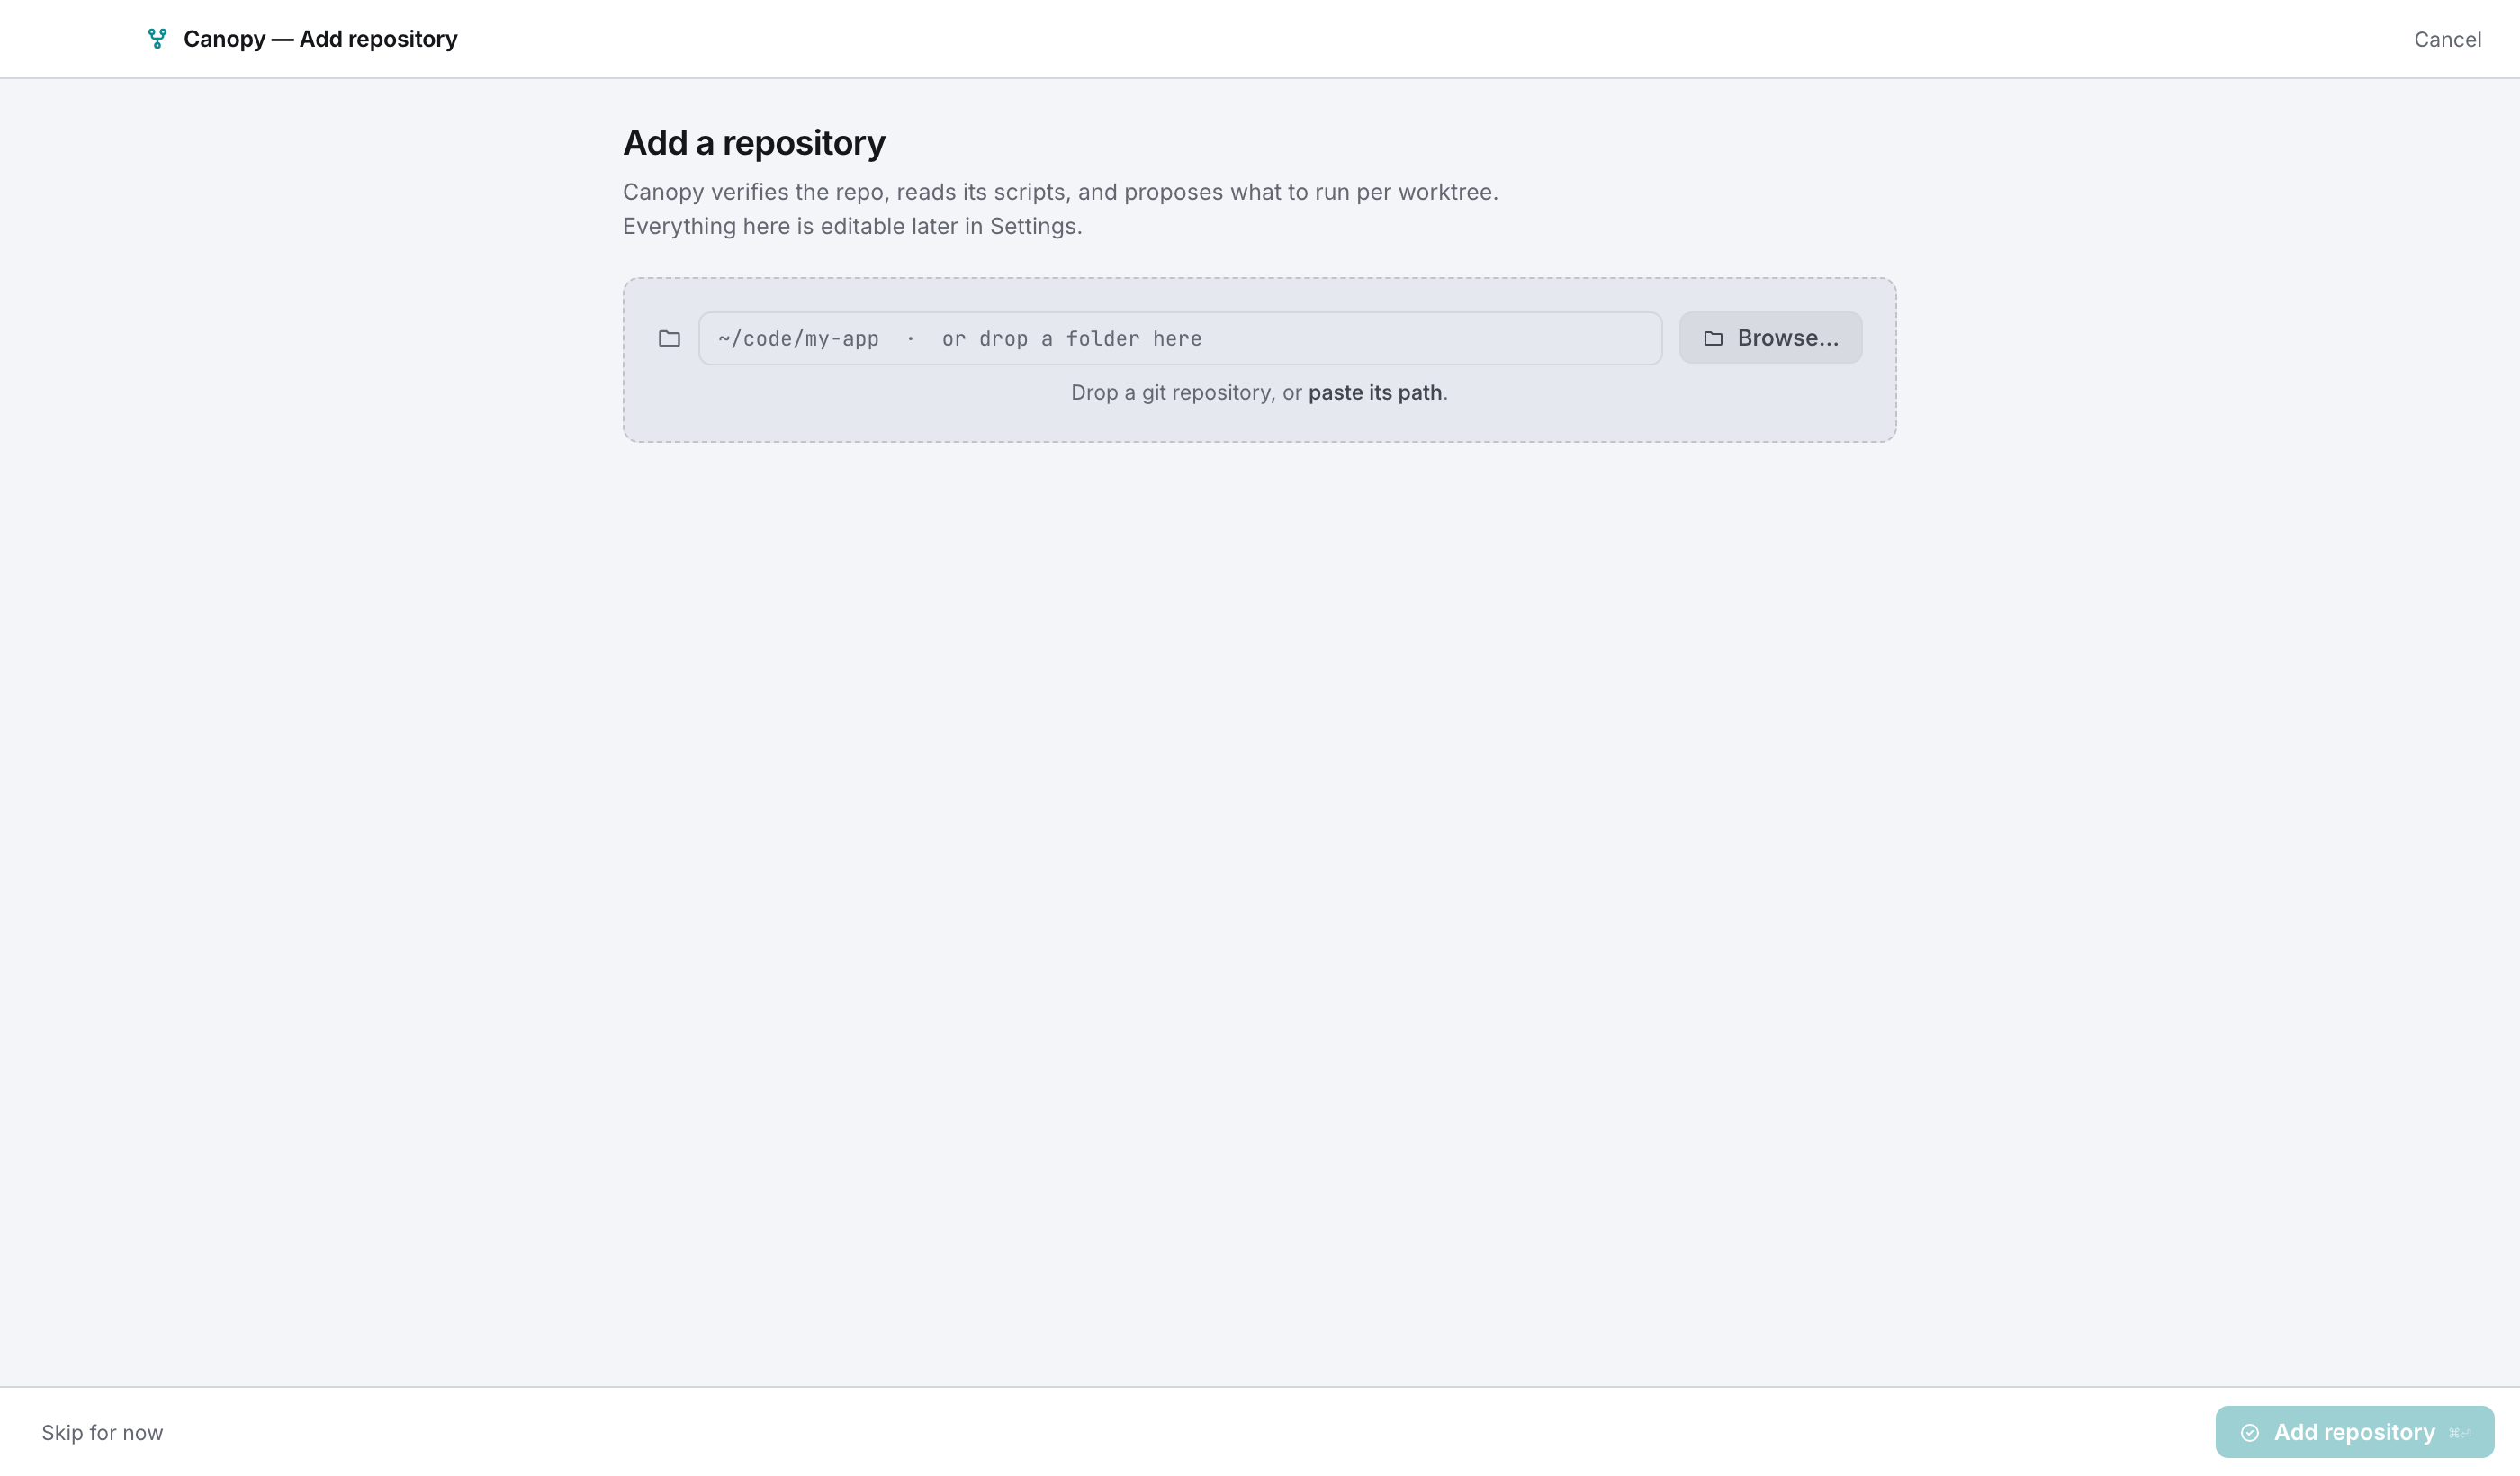
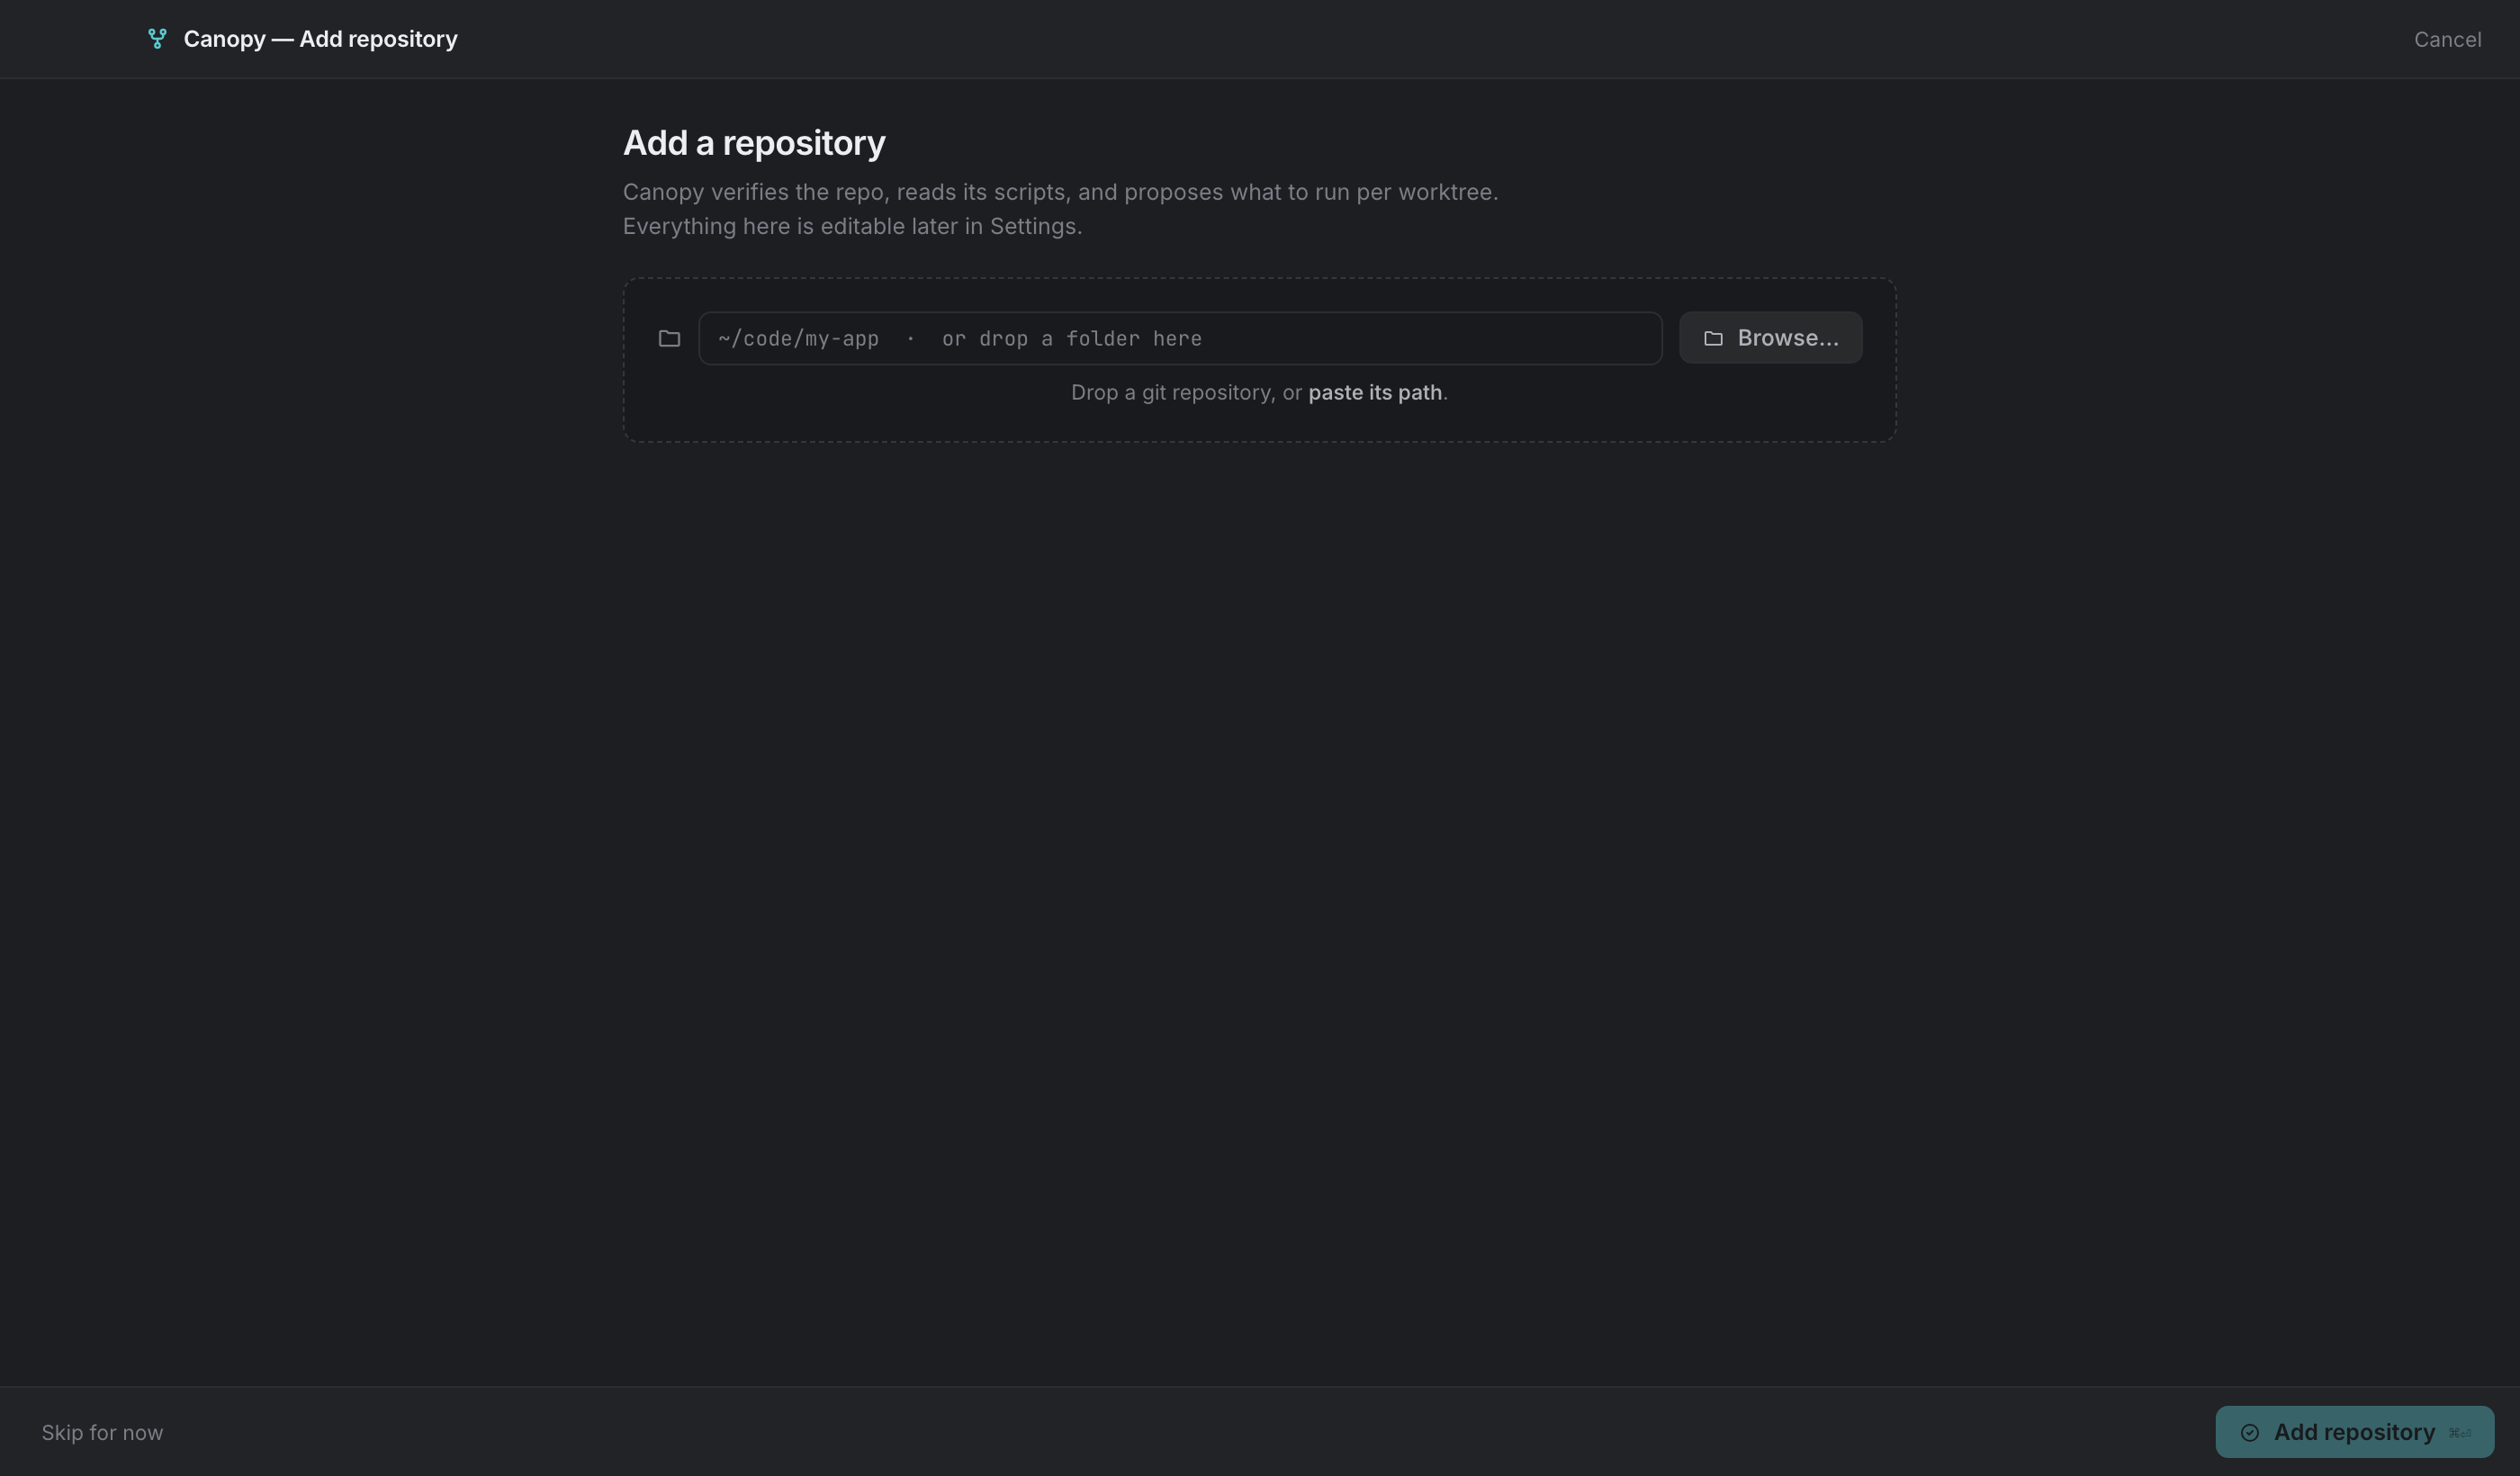
Three ways to name the folder:
- Type or paste the path. Detection fires about 450 ms after you stop typing, so there's nothing to press.
- Browse… opens a native folder picker.
- Drop the folder anywhere in the window. The drop target is live on the empty state too.
Point it at your normal clone, not at an existing worktree.
Canopy then calls detect_repo, which reads:
- whether the path is inside a git work tree, and where the top of it is,
- the repository name, current branch, and
originURL, - the stack, guessed from manifests (
package.json,next.config,nest-cli.json,Gemfile,manage.py,go.mod,Cargo.toml), - every
scriptsentry inpackage.json.
The stack it detected shows up as a chip you can change. It isn't a step you have to confirm.
Step 2. Check the services Canopy proposes#
Any package.json script whose name looks like a long-running process becomes a candidate. The matcher takes start, dev, serve, develop, web, server, api, client, frontend, backend, their :dev and :watch variants, and anything ending in :dev. The first two come enabled and the rest are listed but off. A build-style script is added as a worker, off by default.
A service is classed web when its name or command mentions front, web, client, ui, vite, next, --port, or webpack serve|dev. Everything else is a server.
Each row is editable in place:
| Field | Meaning |
|---|---|
| Name | Display name. It also seeds the port variable name, see Template variables. |
| Kind | web, server or worker. The web service is what "Open :port" targets. |
| Directory | Working directory relative to the worktree root. Pre-filled from an --prefix flag if the script has one. |
| Port | The base port. Each worktree gets base + index × 10. |
| Command | The shell command that starts it. |
| Checkbox | Whether Canopy runs this service at all. |
Under the list, Where that came from prints the repo's own scripts block with the entries that fed a service or a database command highlighted. You can see the derivation instead of taking it on trust.
Step 3. Review provisioning and setup (collapsed)#
Provisioning and setup starts collapsed because it's usually already right. Open it to find:
- Env written into each worktree's
.env, pre-filled withPORTpointing at the primary service's real port variable andPG_DBset to${WT_DB_NAME}. - Setup, run in order on create:
npm install, plus a database line built from whicheverdb:createanddb:migratescripts exist. - Database: the migrate and reset commands found in
scripts, and the directory new worktrees go into (<repo>/.worktreesby default). - Import
.worktreemanager.jsonif the repo already has a config, so you don't retype it.
Step 4. Add the repository#
Add repository (or ⌘⏎) runs four real steps and reports each one as it finishes:
- Registering
<repo>callsadd_repo, then reads settings back to find the new entry. - Saving N services writes the services, the reset and migrate commands, and the worktree directory into
settings.json. - Writing
.worktreemanager.jsonwrites the provisioned.enventry and the setup commands into the repo's config file. - Reading branches lists local and remote branches and reports how many it found.
Nothing is cloned or installed at this point. That happens per worktree. Cancel setup stops before the next step and drops you back on the add screen.
Step 5. The ready screen#
The last screen ends on something you'd want to do next:
- Create first worktree (
⌘N) opens the New worktree dialog. - Go to Canopy selects the repo's main checkout in the main window.
It also recaps what got saved: the service list with ports, where worktrees will be created, how many env keys and setup steps run on create, and the fact that each worktree gets its own database named from ${WT_DB_NAME}. Replay this flow starts over for another repository.
What was written#
| File | Contents |
|---|---|
settings.json | The repo entry: id, name, path, worktree directory, reset and migrate commands, services. |
<repo>/.worktreemanager.json | provision (the .env entry with your keys) and setup (the ordered commands). |
Both stay editable. The first in Repository settings, the second there or by hand. Commit .worktreemanager.json so your setup travels with the branch.
Skipping#
Skip for now and Skip setup dismiss onboarding. Canopy is then empty, the main window shows "No repositories yet" with a button back into this flow, and ⇧⌘N always works.